Sending Email with Delivery report: Orchestrating SES Event Pipelines
By Tilak Sasmal — Sat Apr 18 2026
4 min read
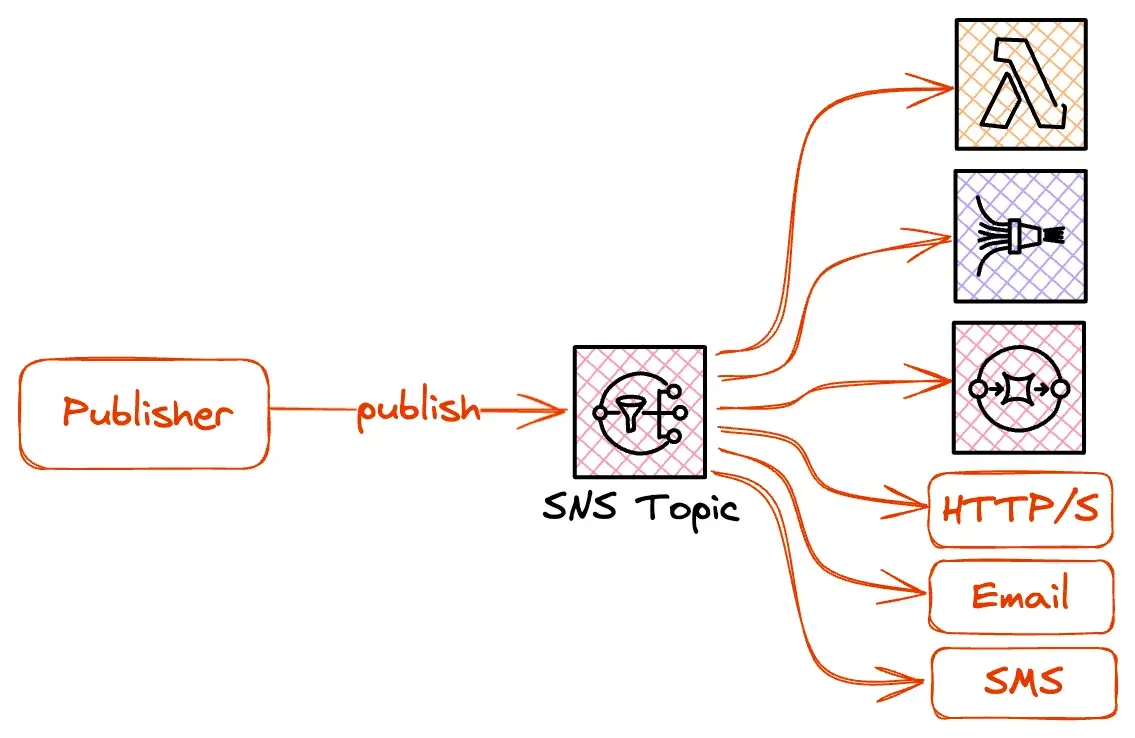
While building a proxy for Ghost CMS’s default mail provider (Mailgun), I hit a major roadblock. Ghost uses Mailgun to send newsletter batches—containing post data and member emails—and relies on Mailgun to track if those emails were sent, delivered, or bounced. Ghost then queries this data to update member delivery statuses.
Creating a proxy to handle the email sending part was straightforward but capturing SES status events and storing them in a format Ghost expects was the real challenge. This post documents how to route those events from SES → SQS → Mailgun Proxy.
step 0: Create an IAM User for the Proxy
Before setting up your SES identities, you need an identity that your code will use to interact with AWS.
- Create the User
- Navigate to the IAM Console > Users and click Create user.
- Username:
mailgun-proxy-worker. - Console access: Leave this unchecked. Your proxy only needs "Programmatic Access" (API access), not a password to log into the website.
- Set Permissions (Least Privilege)
In the "Set permissions" step, choose Attach policies directly. You need to grant this user permission to use SES and SQS. Search for and check
AmazonSESFullAccessAmazonSQSFullAccess
- Generate Access Keys
Once the user is created, you won't have your keys yet. You must generate them manually:
- Click on your new user (
mailgun-proxy-worker) from the list. - Navigate to the Security credentials tab.
- Scroll down to the Access keys section and click Create access key.
- Use case: Select Command Line Interface (CLI) or Application running outside AWS.
- Description tag: Something like
Ghost-Mailgun-Proxy-Keys.
Peer Tip: Never commit these keys to GitHub. If you're running your proxy on an AWS EC2 instance or Lambda, it is much safer to use IAM Roles instead of static Access Keys, as roles provide temporary, self-rotating credentials.
Step 1: Create Identities for sending emails
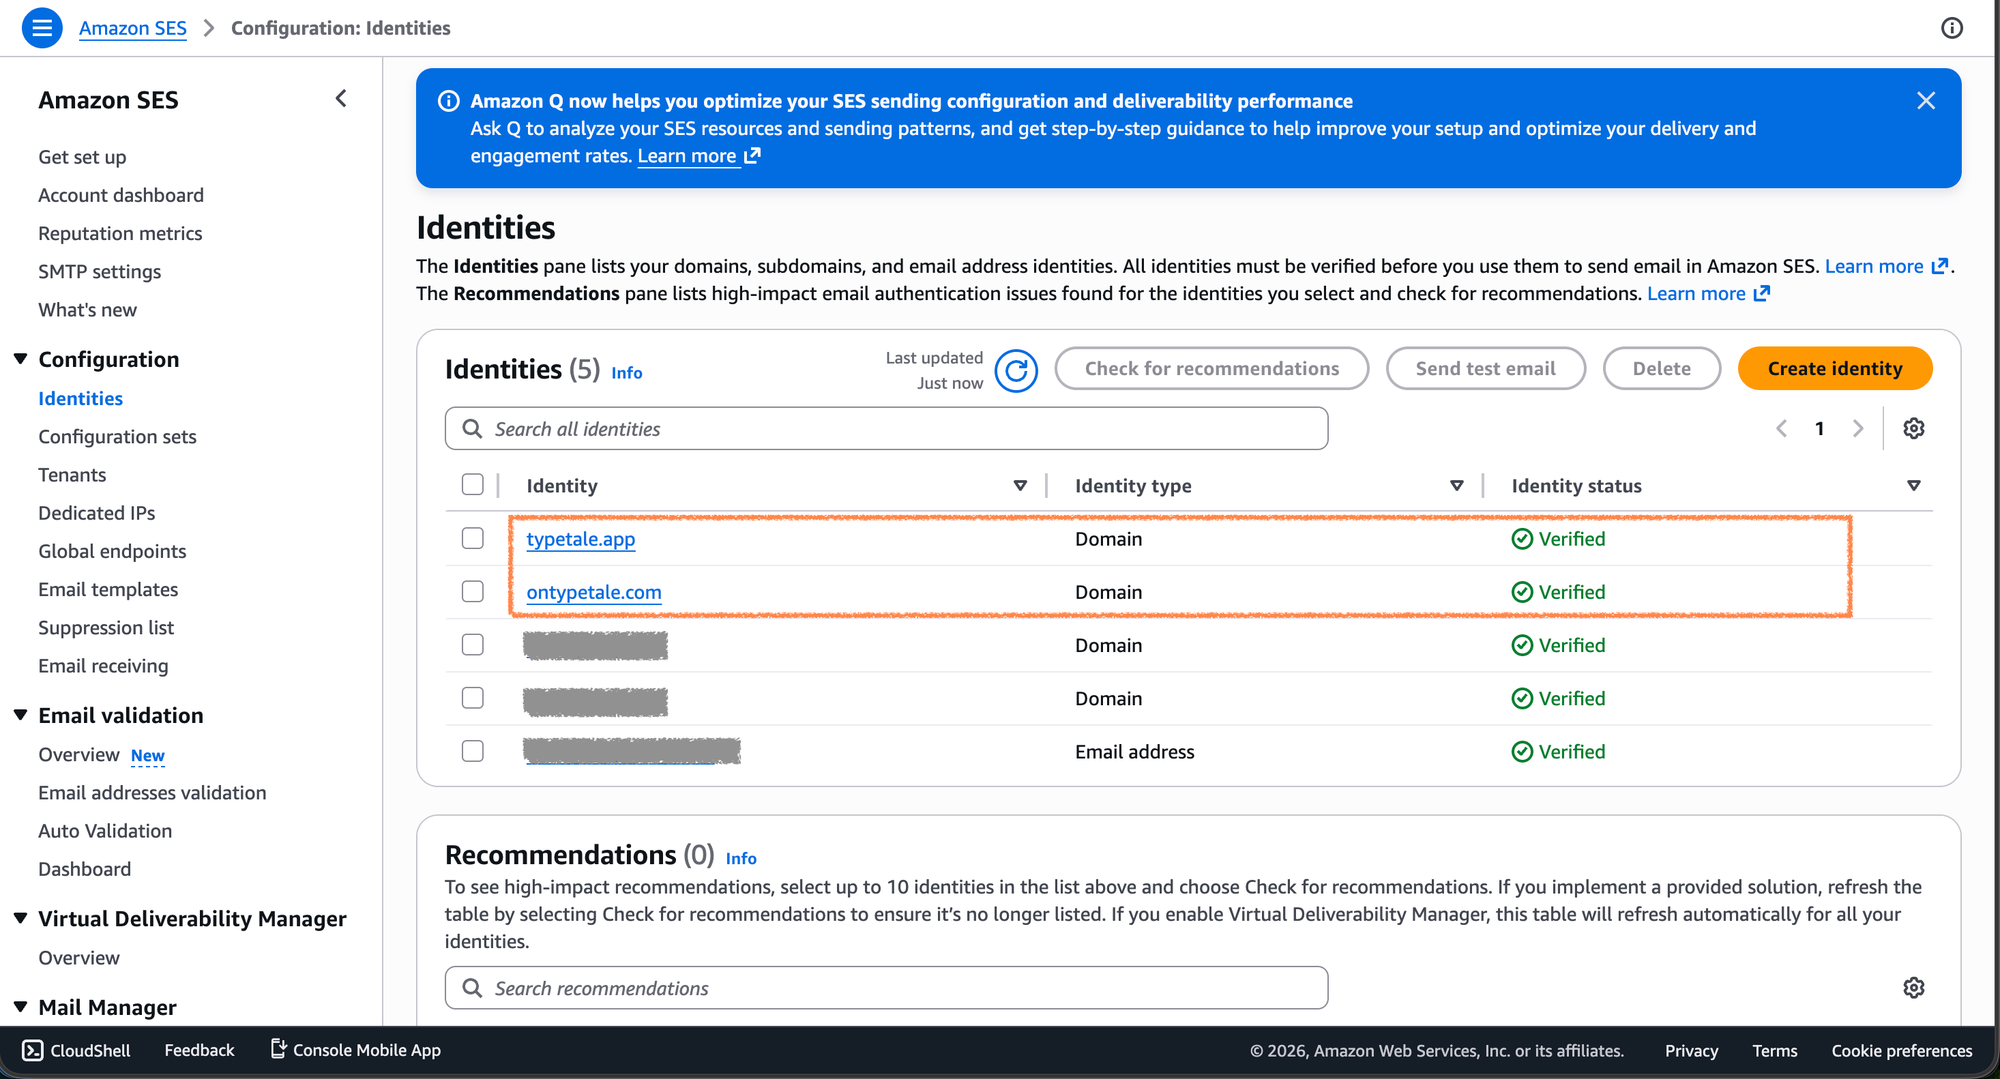
Navigate to the AWS Console and open the Amazon SES page. You must first verify your Identities (the email addresses or domains used to send mail).
- Action: Verify the domain or email you intend to use for your Ghost newsletters.
- Pro Tip: Verifying a whole domain is usually better for production to avoid verifying every individual sender address.
Step 2: Create Configuration Sets
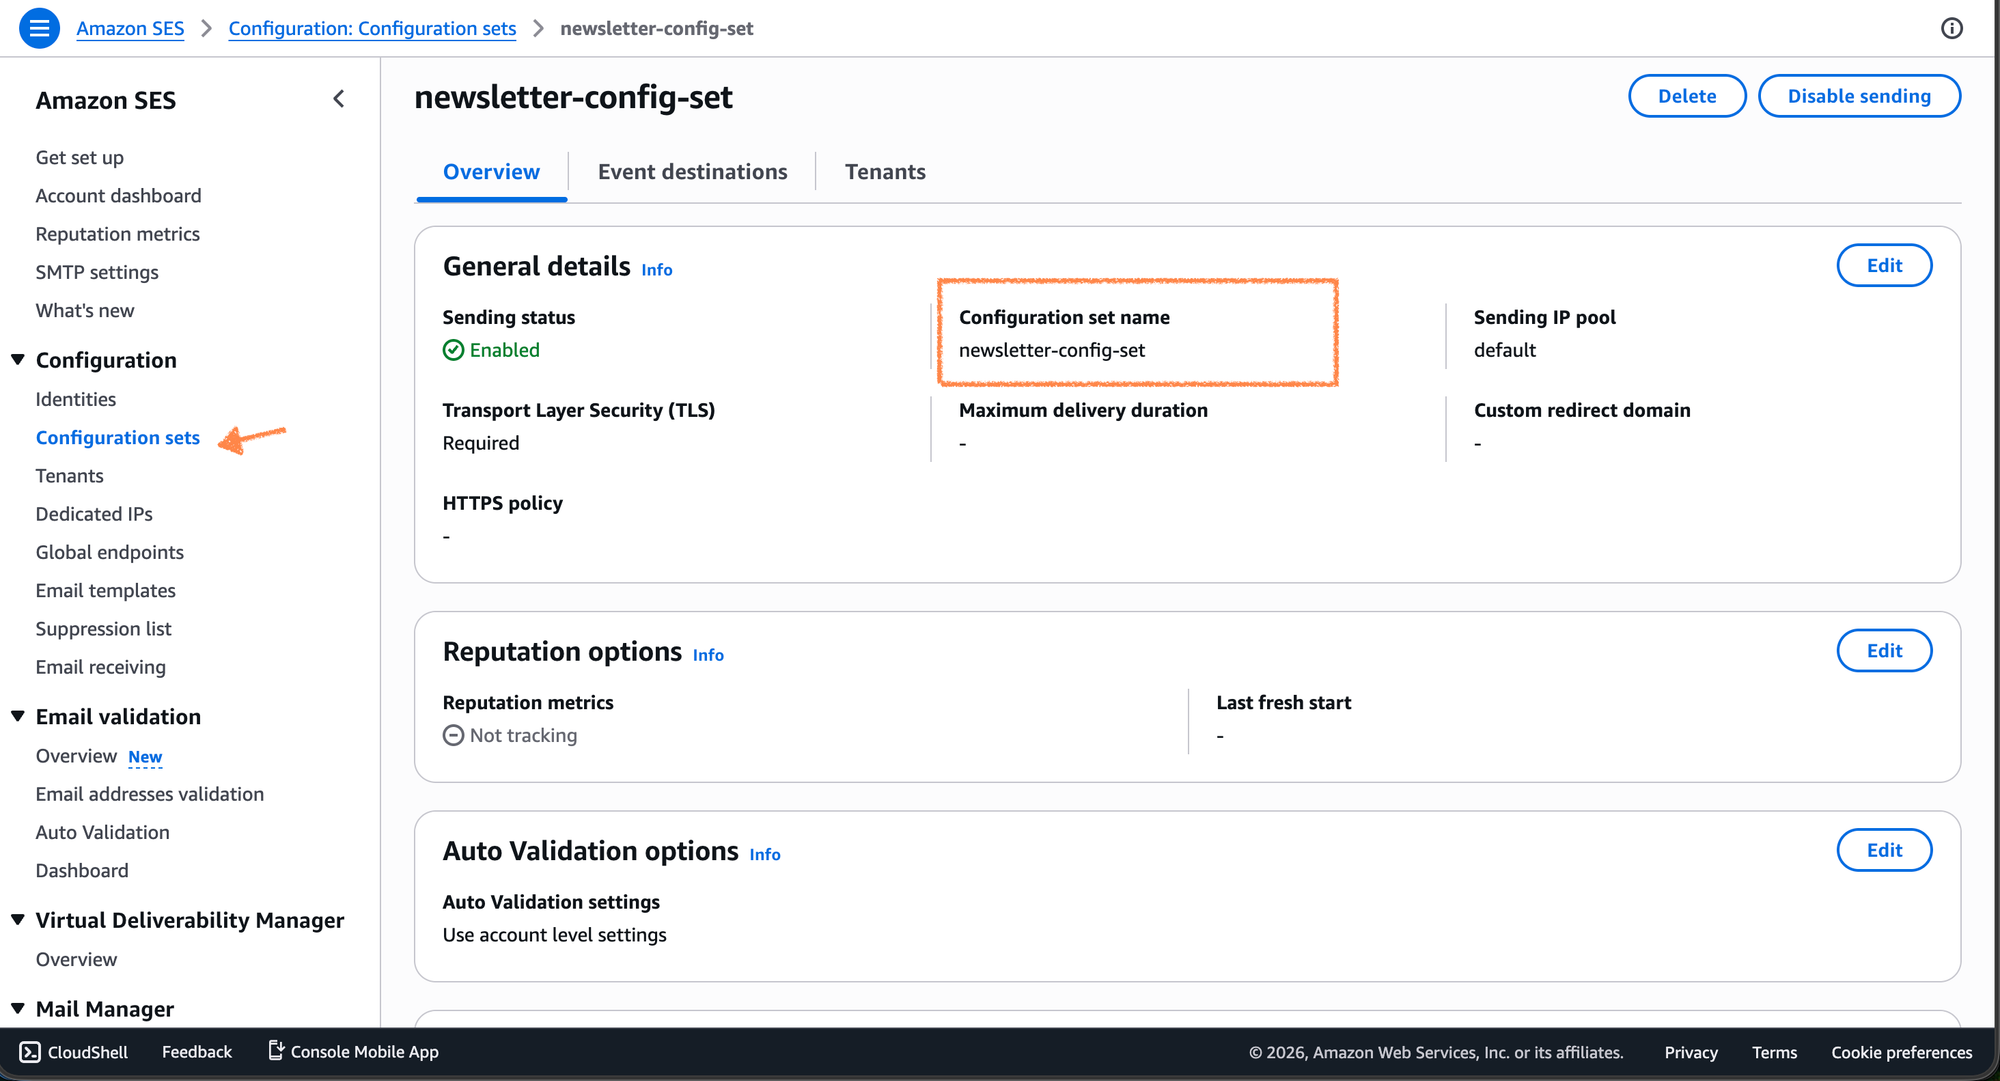
A Configuration Set allows you to apply specific rules to the emails you send. This is the "brain" of our operation because it tells SES where to send event data.
- Create Set: Provide a name (e.g.,
ghost-mailgun-proxy-set). - Event Destinations: Navigate to the "Event destinations" tab and click Add Destination.
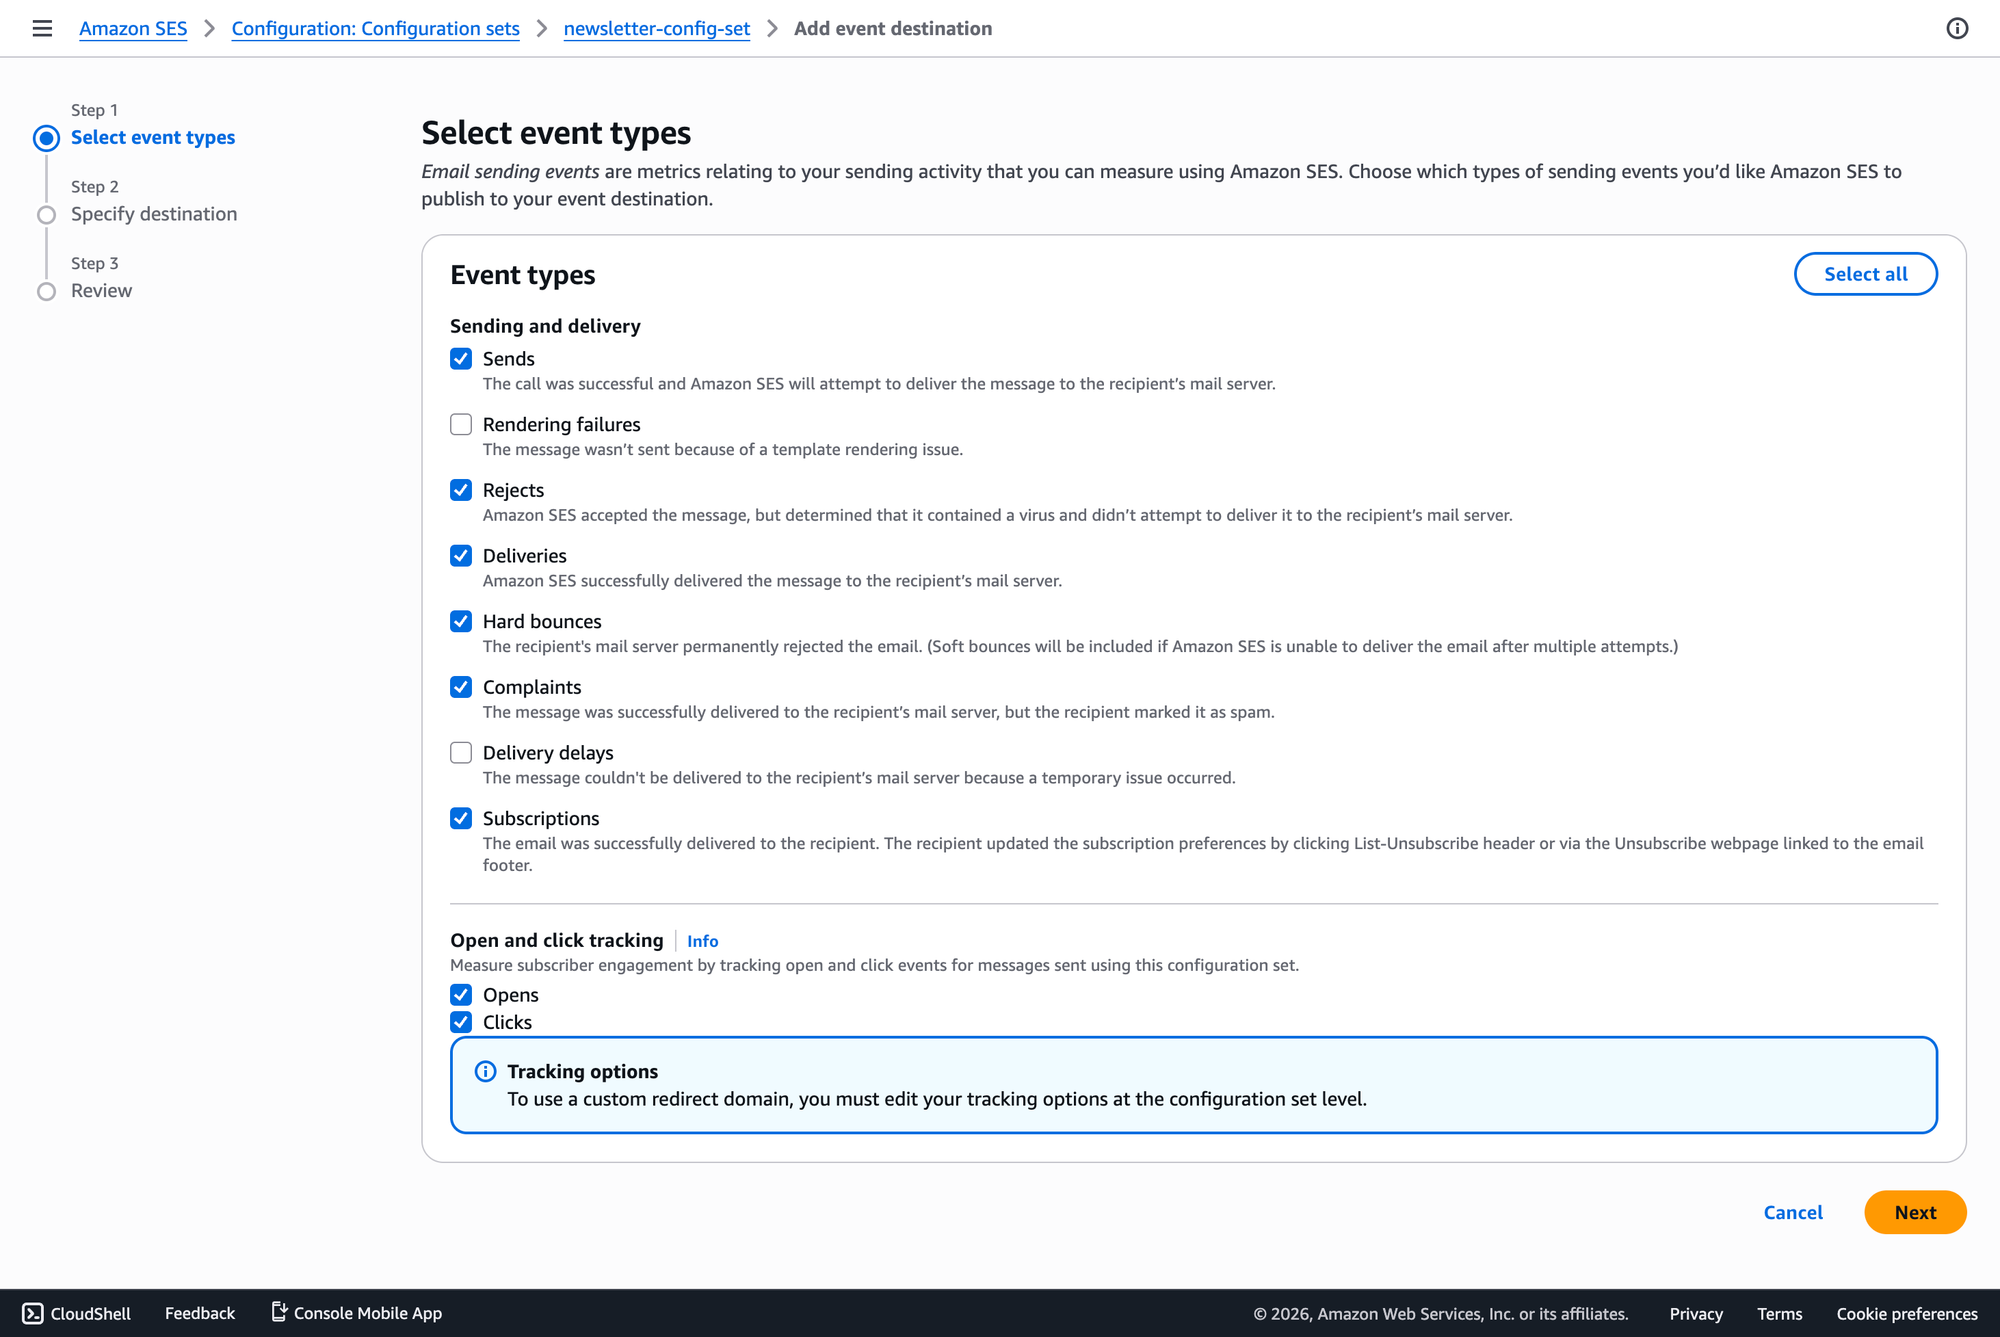
- Select Events: Check the boxes for the events Ghost needs to track:
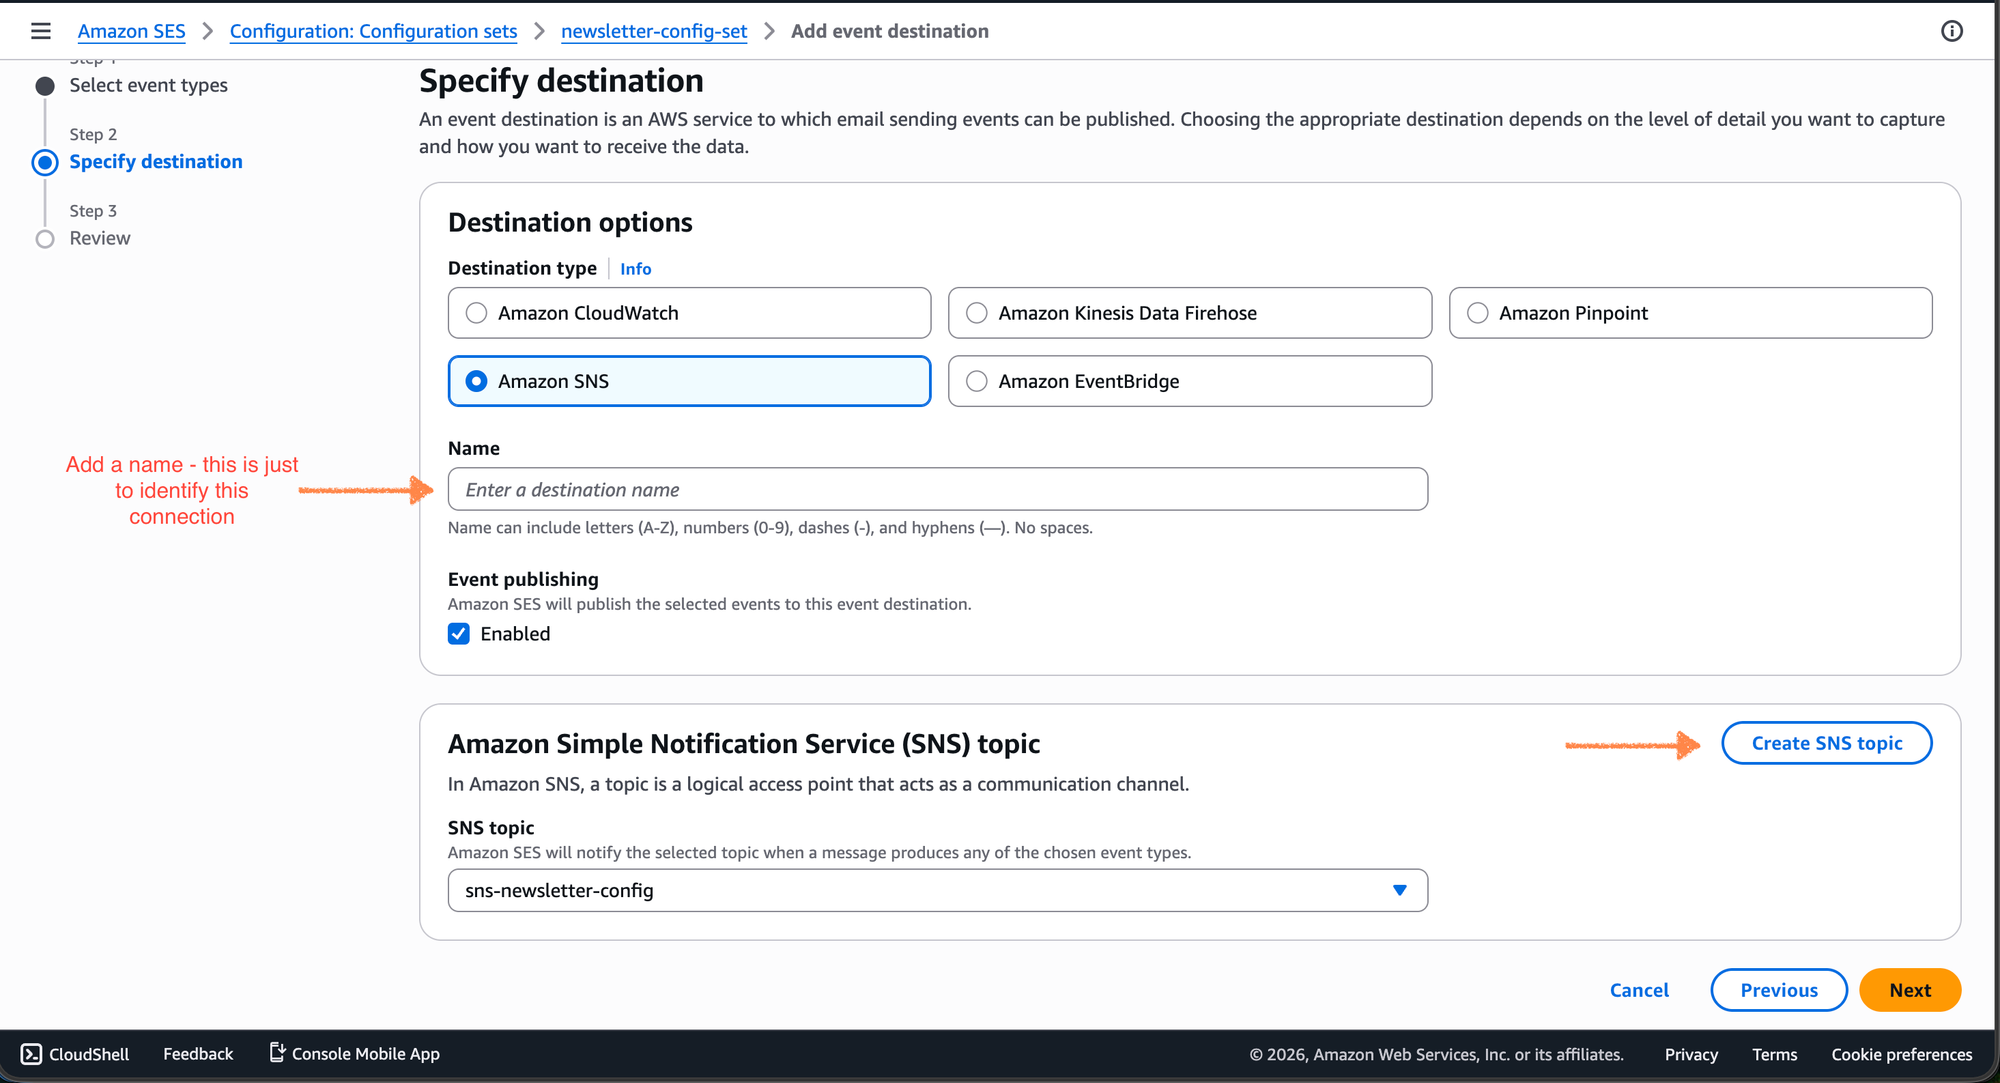
Send,Delivery,Bounce, andComplaint. - Destination Type: Choose Amazon SNS.
- Select SNS Topic: Create or select an SNS topic that will serve as the bridge to your queues.
Step 3: Create SQS queues
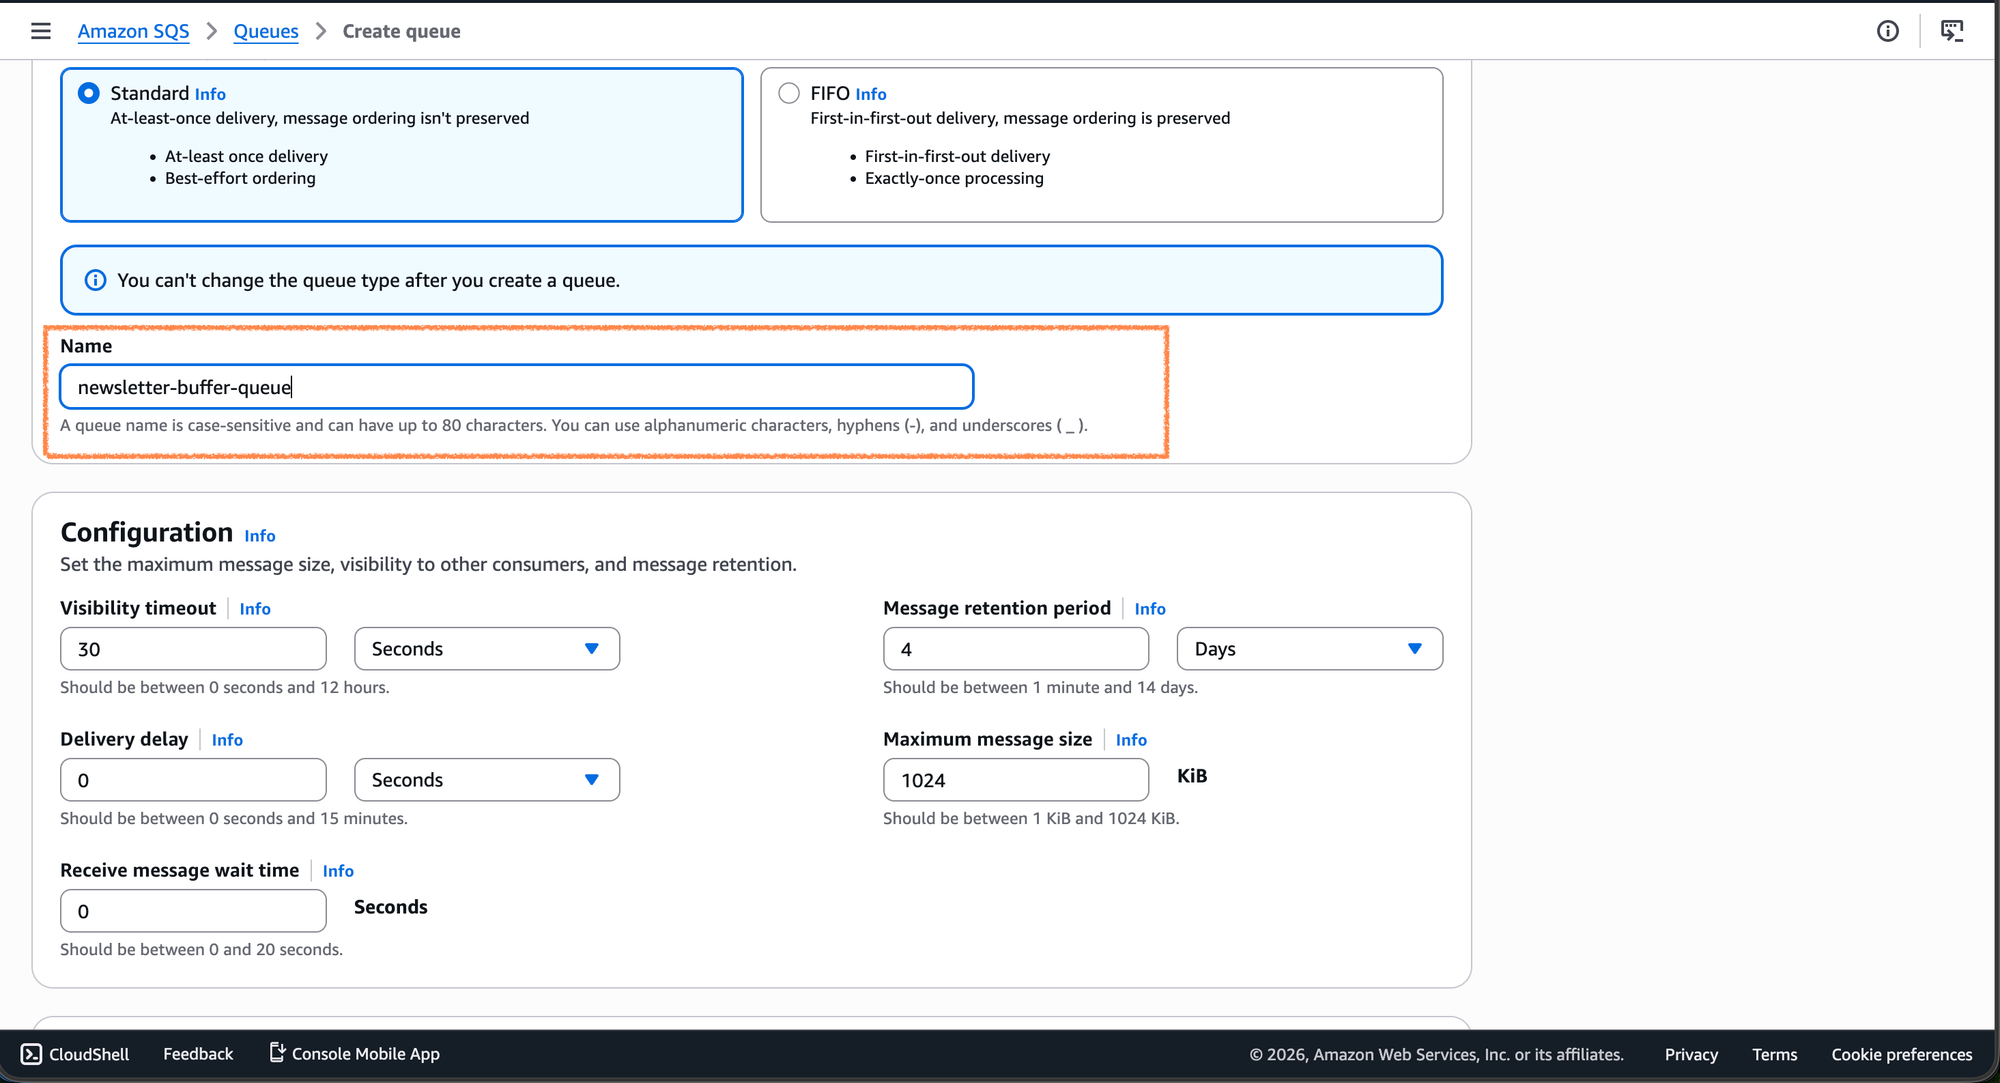
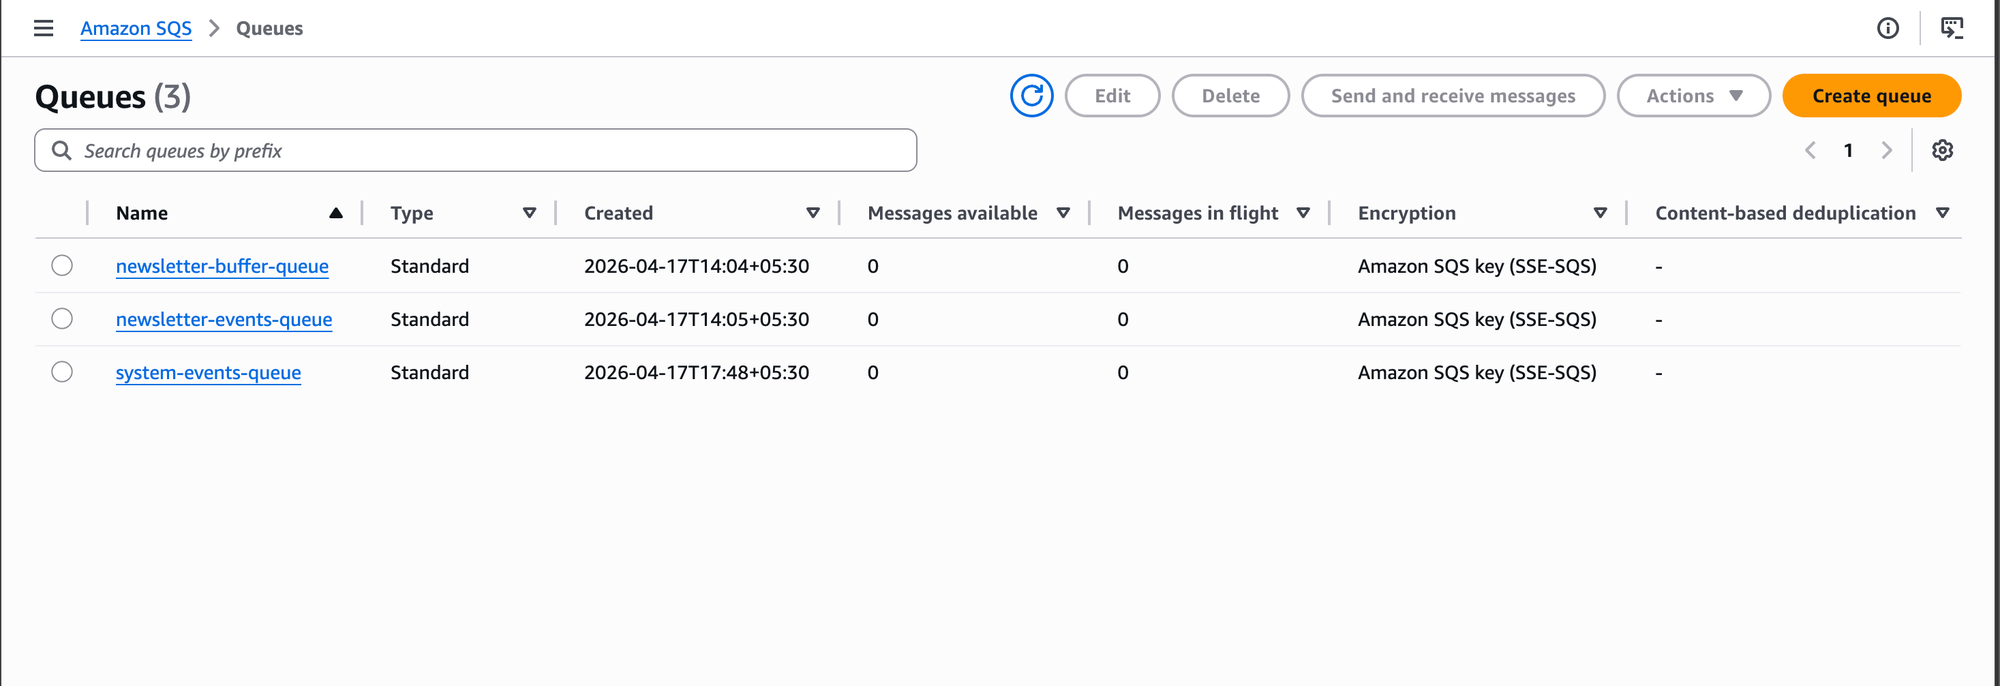
Navigate to the SQS page. To keep our proxy organized and scalable, we will create three distinct queues:
newsletter-buffer-queue: To store incoming newsletter batches from Ghost.newsletter-events-queue: To store the raw SES events (bounces, deliveries) for processing.system-events-queue: To store events for transactional emails (e.g., signup links) sent via the proxy.
Note: Use Standard Queues unless your specific logic strictly requires FIFO, as Standard queues offer higher throughput for large newsletter batches.
Once you have repeated the steps for creating all the queues:
Step 4: Connect SNS to SQS
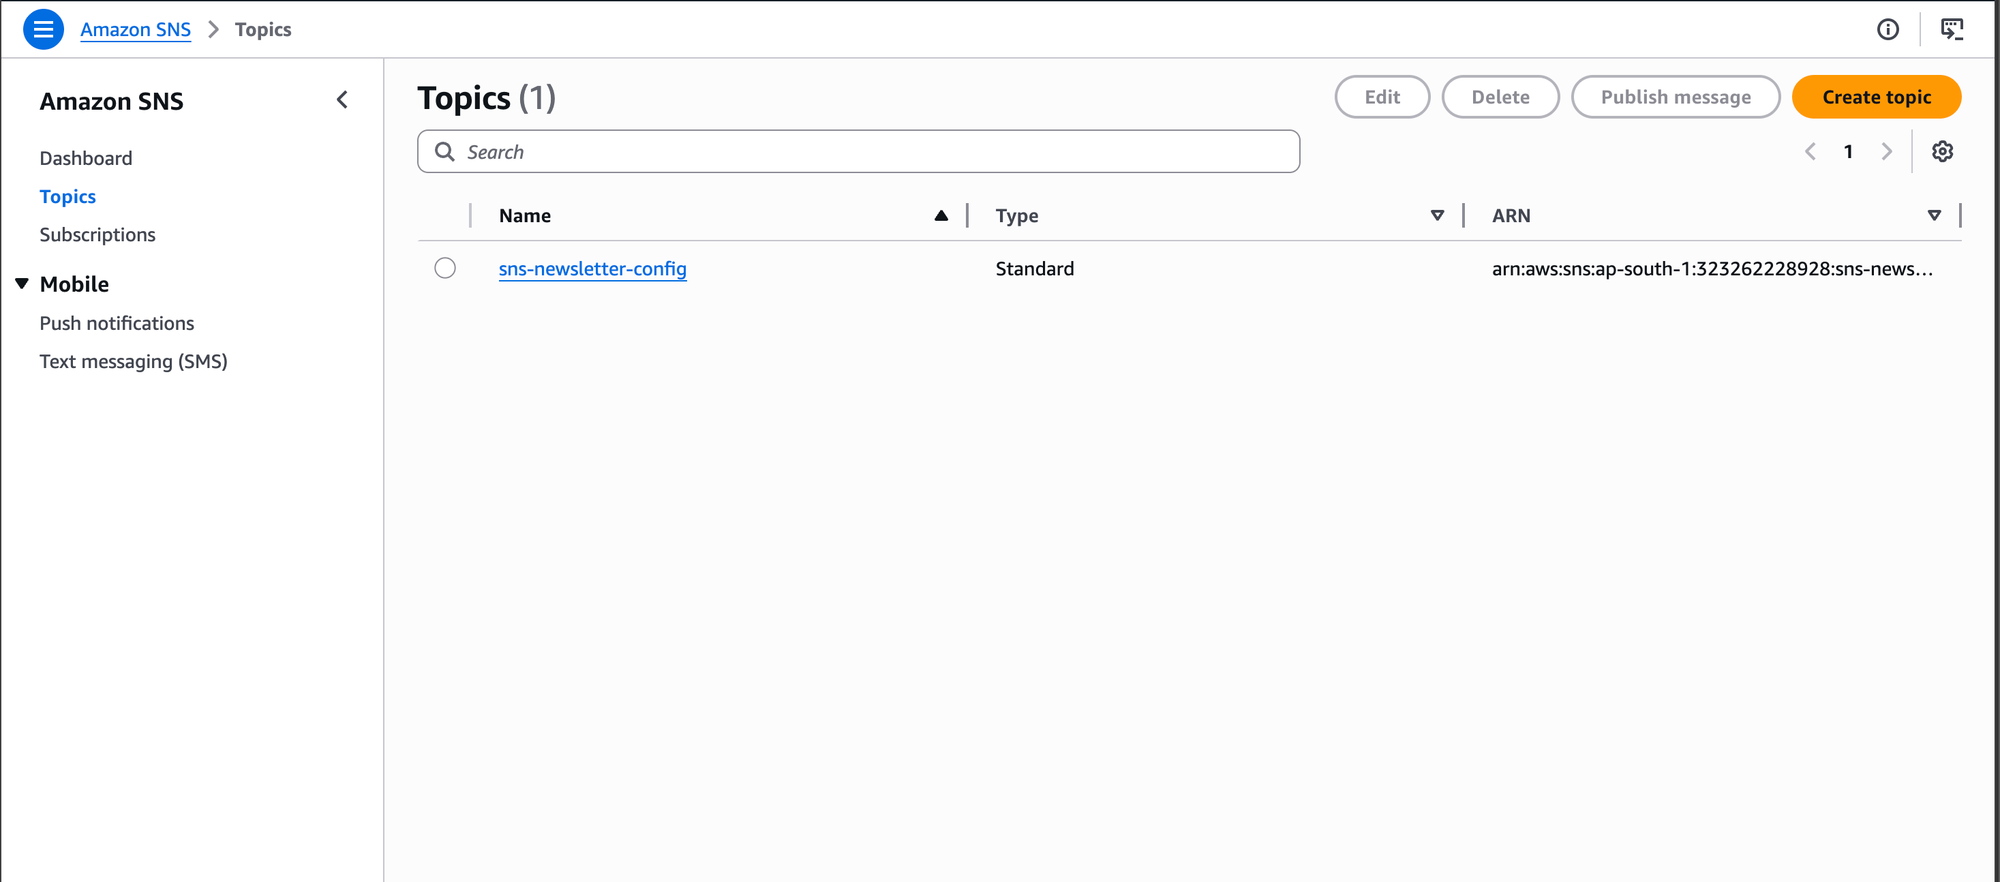
Now, we need to ensure the events landing in SNS are pushed into our SQS queues.
- Select Topic: Go to the SNS topic you created in Step 2.
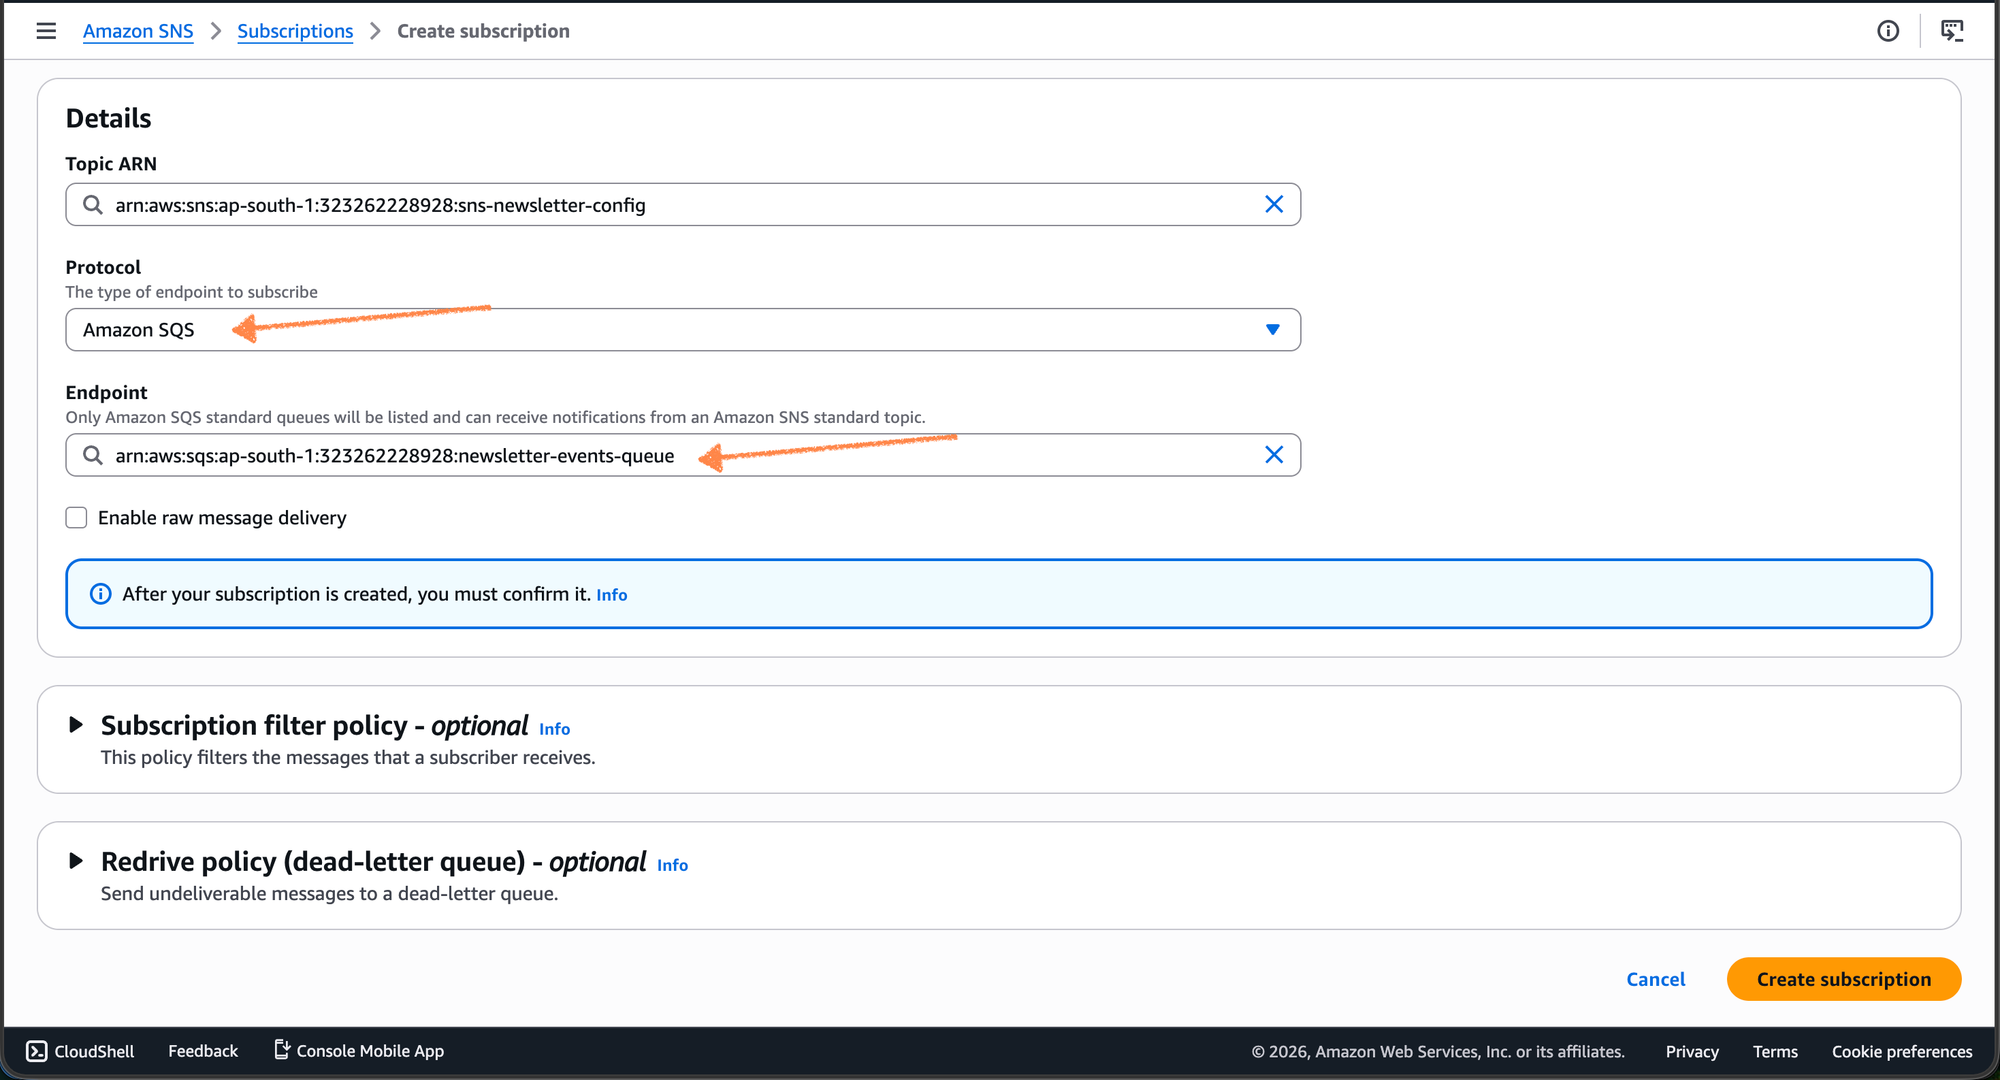
- Create Subscription: Under the "Subscriptions" tab, click Create Subscription.
- Protocol: Select Amazon SQS.
- Endpoint: Select the ARN of your
newsletter-events-queue. - Permissions: Ensure your SQS Access Policy allows the SNS topic to
sqs:SendMessage.
Closing note
While it may seem like a lot of "plumbing" to get a simple status update, this architecture is built for scale and reliability. By moving your email events into SQS, you’ve ensured that even if your proxy goes down for maintenance or experiences a spike in traffic, your delivery data remains safe and sound in the queue.
You’ve successfully turned a rigid CMS requirement into a flexible, cloud-native notification system. Now, all that’s left is to start the worker, send that first newsletter, and watch the events roll in.
Happy sending!
Github: https://github.com/typetale-app